
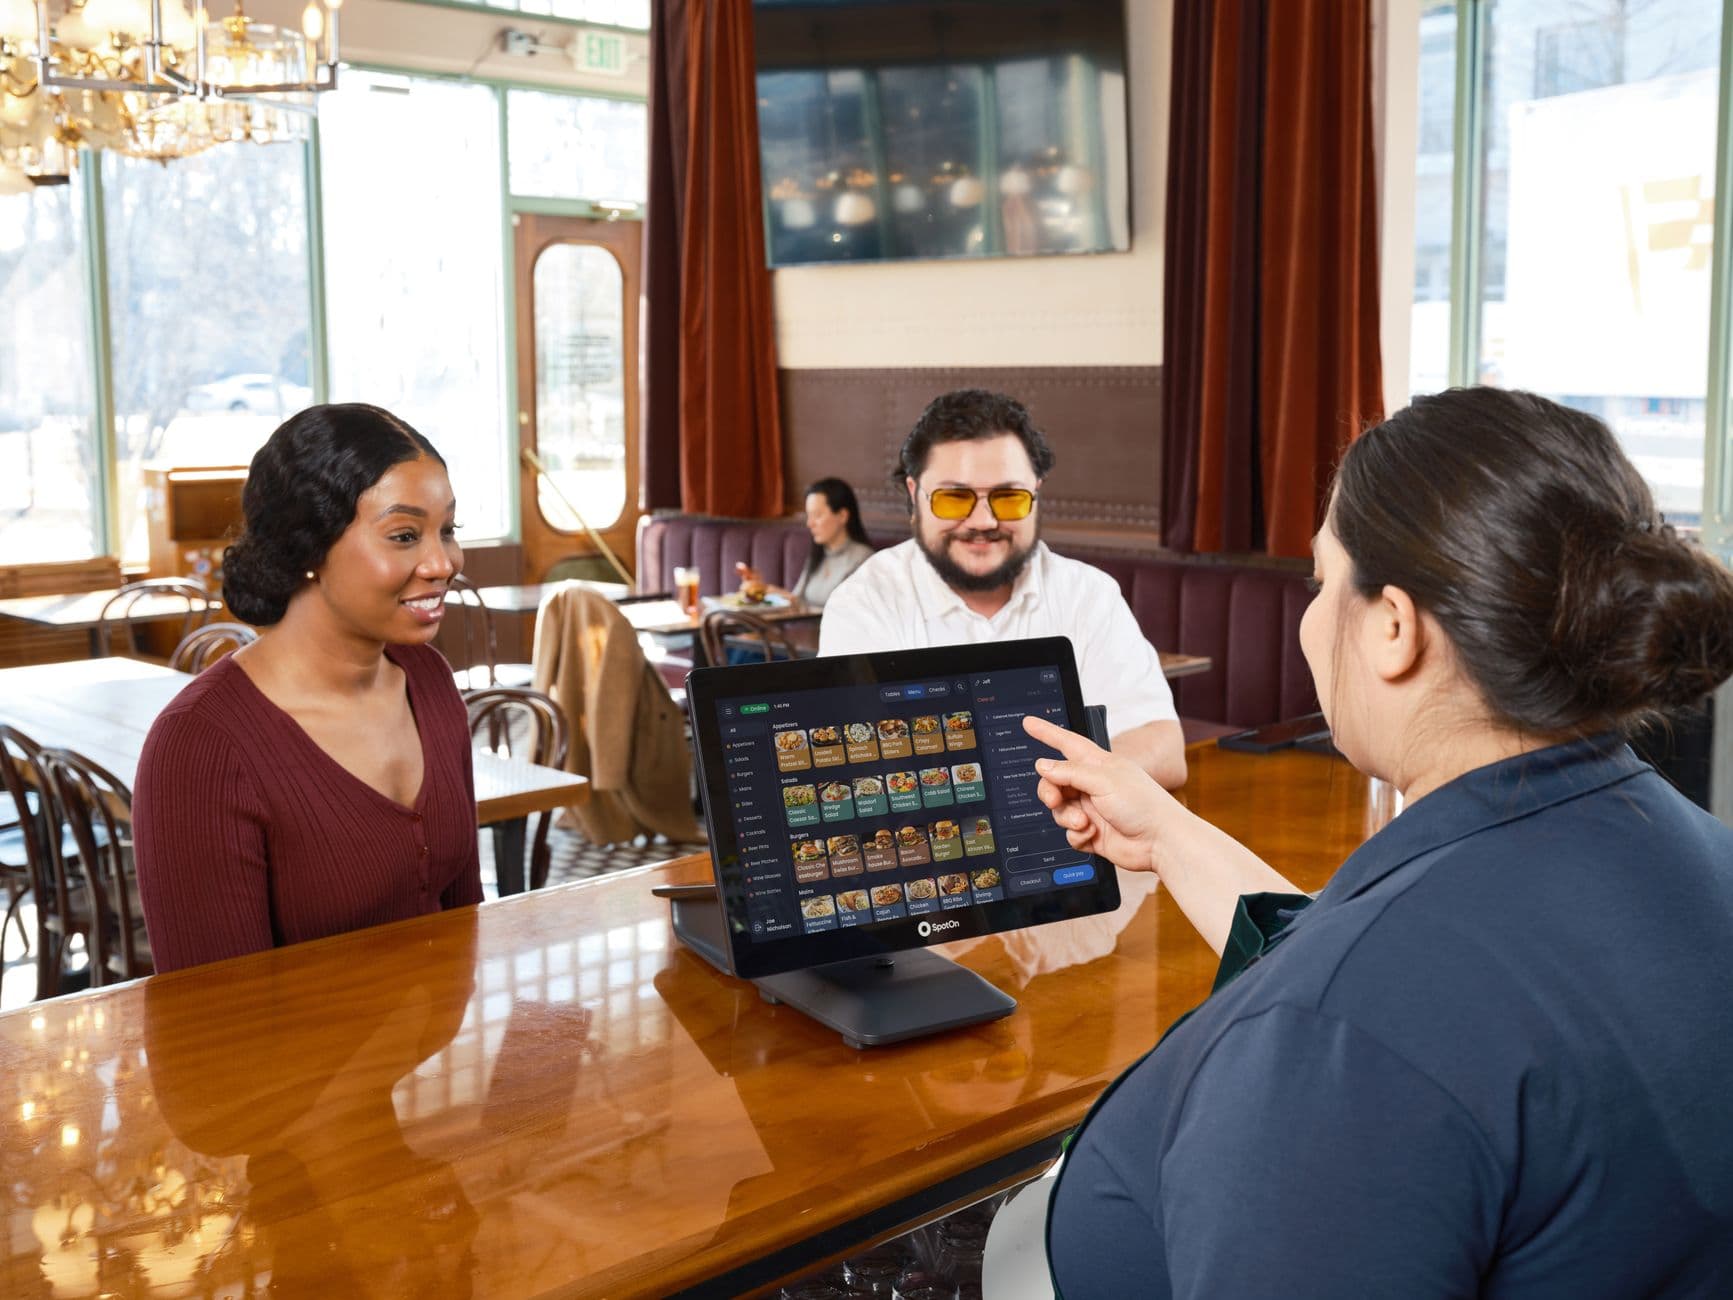
Digital menu board installation takes five decisions before the first screw goes into a wall: location, display, power, network, and content ownership. Visora is a cloud digital signage platform for restaurants that can turn a compatible smart TV into a managed menu screen, so owners can validate the workflow before committing to a larger hardware rollout.
What is the best way to install a digital menu board in 2026?
The best digital menu board installation starts with a site survey, not a screen purchase. Check the sightline, wall, power, Wi-Fi, glare, operating hours, and update owner first. Then test Visora on 1 compatible smart TV for $0. Use a commercial display or professional installer when long hours, heat, difficult construction, or several screens make reliability and mounting more demanding.
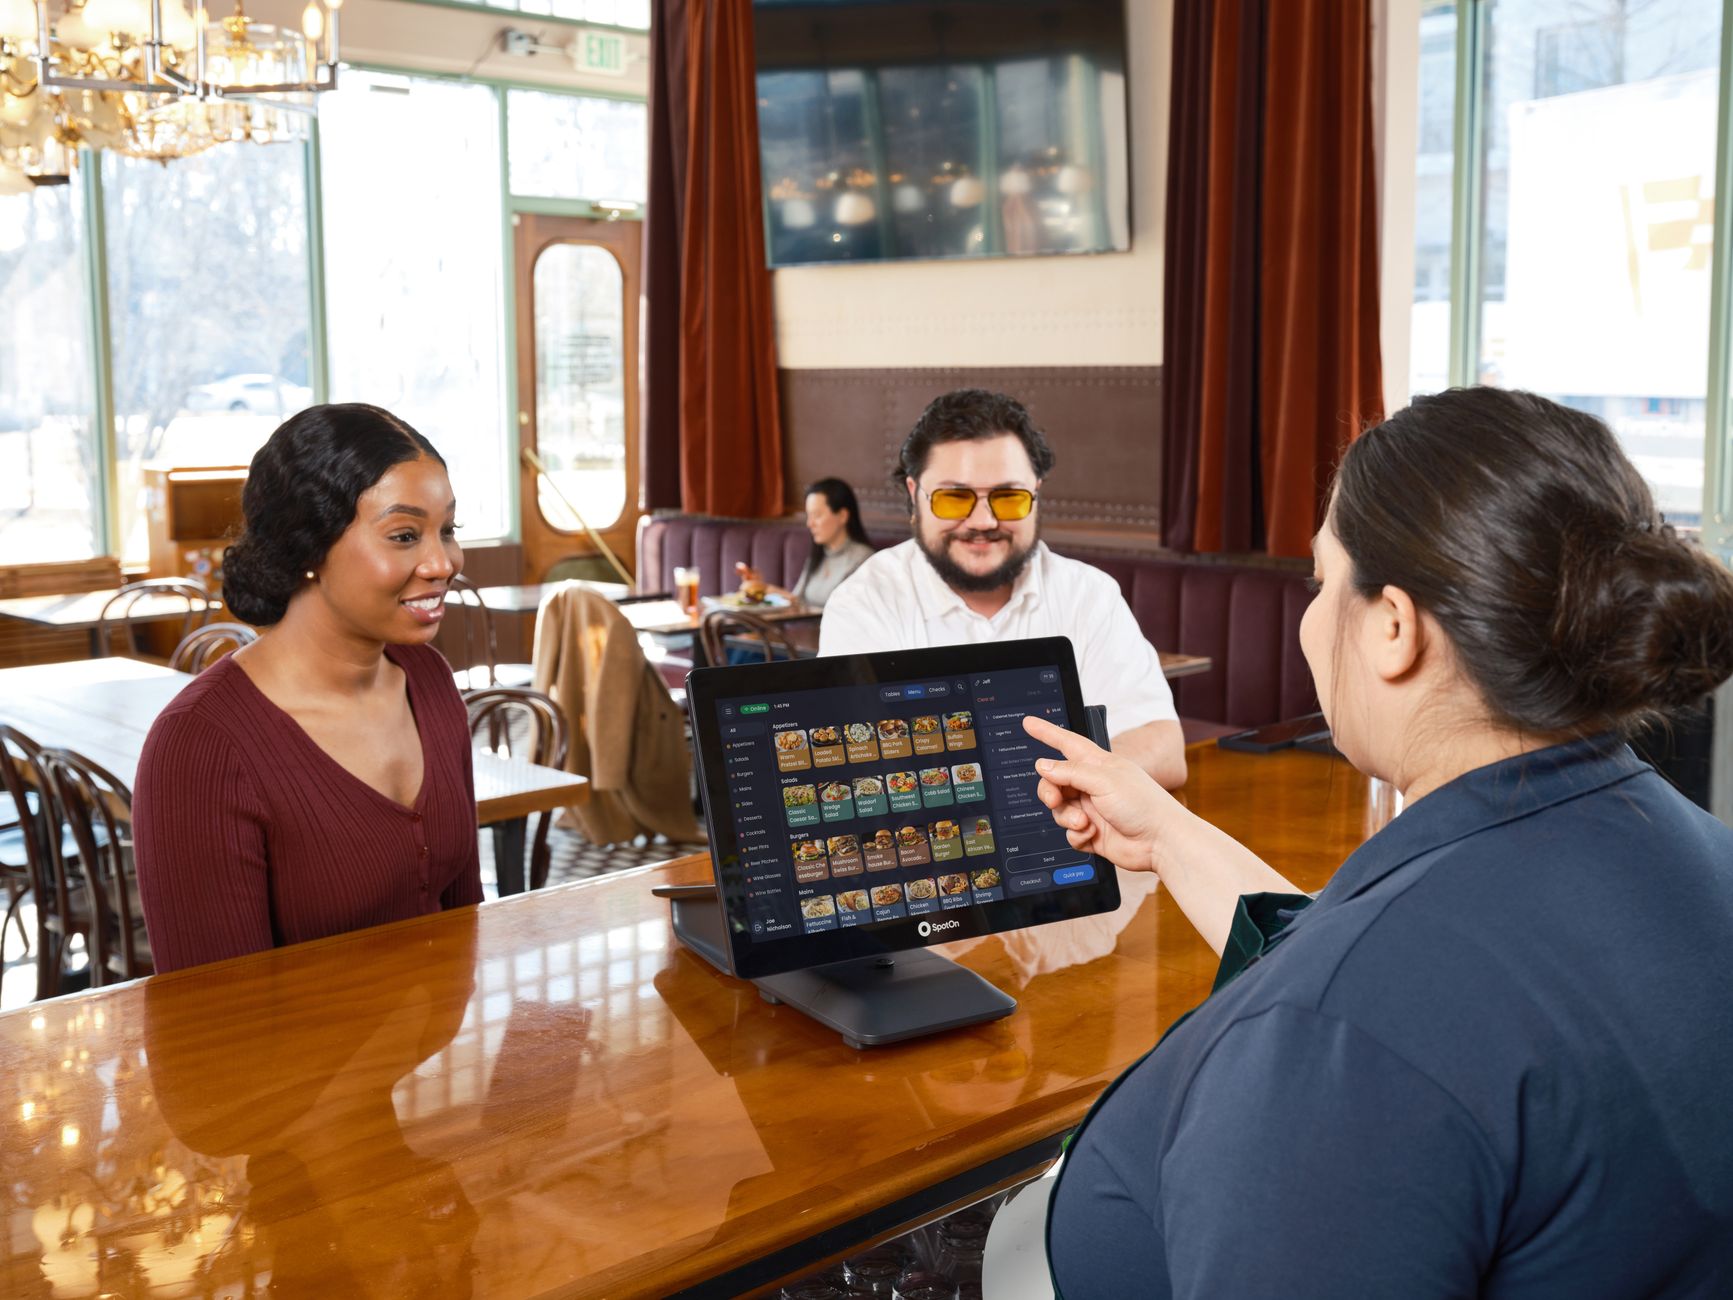
A screen that looks sharp in a product photo can still fail in a restaurant. The menu may be unreadable from the queue, a reflection may cover prices at lunch, the TV may sleep after two hours, or the Wi-Fi signal may disappear behind a metal kitchen wall. The installation plan has to account for the room as it operates, not as it looks while empty.
Current evidence supports that operational focus. Kitcast's 2026 benchmark of more than 10,000 screens found that 82% of QSR screens and 62% of restaurant screens run digital menus. It also measured a median content age of 16.8 days. Getting a screen live matters, but keeping it accurate matters more.
What should you check before buying a screen?
Before buying hardware, stand where customers order and record viewing distance, angle, glare, ceiling height, wall material, nearby heat, available outlets, Wi-Fi strength, and cable paths. Also write down the restaurant's hours and who will approve price changes. Those observations determine the right display, mount, orientation, and support level.
Use this short site-survey checklist:
- Sightline: Can a customer at the back of the normal queue read item names and prices without looking through hanging lights or decorations?
- Glare: Check the wall at breakfast, lunch, and evening. Window light changes through the day.
- Heat and moisture: Keep displays away from fryer exhaust, steam, direct HVAC discharge, and areas where staff spray-clean.
- Power: Confirm a safe outlet location. Do not plan to leave an extension cord hanging behind the screen.
- Network: Test the actual Wi-Fi signal at screen height. A phone test at counter level can hide a dead zone.
- Service access: Leave a practical way to reach the power control, ports, and mount release after installation.
- Ownership: Name one manager and one backup who can update or recover the menu.
The National Restaurant Association's 2025 industry report found that 83% of operators see technology as a competitive advantage, yet only 28% of technology adopters said it improved profitability. That gap is a reminder to define the operational result before buying equipment: faster price changes, fewer stale items, clearer ordering, or consistent menus across locations.
How do you choose the display, mount, and player?
Choose the display for its real duty cycle, brightness, orientation support, warranty, and outage cost. Choose the mount for the display's weight, VESA pattern, wall structure, tilt, and service access. For playback, start with the simplest supported option that can recover reliably after a restart. Extra hardware is not automatically better.
An existing consumer smart TV can be a sensible pilot when it is indoors, already paid for, used for moderate hours, and easy to replace. A commercial display is a stronger fit for long daily operation, high heat, bright windows, portrait use, or locations where downtime stops ordering. Read the full digital signage hardware requirements guide before standardizing a multi-screen purchase.
Visora supports three practical playback paths:
- Smart TV browser: Open the Visora display page and pair the screen with a four-character code. No dedicated player is required.
- Amazon Fire TV: Install the Visora TV app from the Amazon Appstore when the TV browser is not the preferred option.
- Windows desktop app: Available on Starter and higher. It also supports HDMI capture for live TV and sports.
Do not buy a player until you know why you need one. A browser may be enough for a static menu, image rotation, and lightweight video. The Windows app is useful when the venue needs HDMI capture or a more controlled computer-based setup. Test automatic launch and recovery after power loss with the exact hardware you plan to deploy.
How should digital menu boards be mounted?
Mount menu boards where customers can read them without neck strain and where staff can service them safely. The mount, fasteners, and wall structure must support the display and expected movement. Hire a qualified installer when the wall condition is uncertain, electrical work is required, screens hang overhead, or local rules require licensed work.
For a row of screens, mark the complete cluster before drilling. Confirm that bezels align, vents remain clear, cables can reach without tension, and every display can be removed without taking down its neighbor. Use a level and the manufacturer's mounting pattern. Never treat drywall alone, an unknown ceiling grid, or decorative cladding as verified structure.
Power and data cables should be protected from guests, heat, cleaning tools, and sharp metal edges. Do not bury an ordinary power strip or flexible cord inside a wall. Electrical and fire rules vary by jurisdiction, so a licensed electrician or qualified AV installer should determine the compliant solution when new outlets, in-wall routing, or structural attachment is involved.
Ready to test the content workflow before mounting a full row? Pair one compatible smart TV with Visora on the $0 Free plan, then move to bundled plans when the pilot is proven: see Visora pricing.
How do you install and publish the menu?
Install the physical screen only after the menu canvas and recovery plan are ready. Connect power and network, disable sleep and energy settings that interrupt service, set the correct orientation, open the playback method, pair the screen, and publish. Finish by rebooting the device and confirming that it returns to the menu automatically.
Follow this sequence:
- Build the canvas. Match the screen's landscape or portrait aspect ratio. Keep prices and item names large enough to read from the queue. The restaurant menu board design ideas guide covers layout and hierarchy.
- Verify the menu. Ask a manager to check every price, modifier, item name, allergen note, and sold-out item before publishing.
- Prepare the display. Connect it to the restaurant network, install any firmware updates, set the clock and time zone, and turn off sleep timers that would blank the menu during service.
- Pair Visora. Open the display page or supported app. Enter the four-character code in the dashboard and assign the correct ad group.
- Publish content. Send the menu to the screen and wait for every asset to load. Free includes 1 screen, 1 ad group, 200 MB, a Visora watermark, and a Visora promotion every 10 minutes.
- Add scheduling only if needed. Dayparting and scheduling require Pro at $59 per month or Business at $159 per month. They are not included with Free or Starter.
For a shorter software-only walkthrough, use how to set up a digital menu board. This installation guide adds the physical and operational checks that should happen around that pairing step.
What does menu board installation cost in 2026?
Menu board installation cost depends on what the quote includes. A restaurant that already owns a compatible TV can test Visora software from $0. A new display, rated mount, electrical work, cable concealment, content design, and professional labor are separate. Compare quotes line by line instead of comparing one all-in number with one labor-only number.
Published 2026 vendor examples show how wide the scope can be:
| Cost component | Current published example | What to verify |
|---|---|---|
| Visora software pilot | $0 for 1 screen | Watermark and Visora promotion every 10 minutes; no scheduling |
| Standard wall-mount labor | $250 to $350 per screen | E Display range; ask whether power and cable concealment are included |
| Standard professional installation | $50 to $300 | CrownTV range; scope varies by wall and market |
| Fully installed single-location system | $1,500 to $3,000 per screen | DisplayDetails range includes commercial screen, mount, labor, setup, design, and first-year support |
| Visora Starter software | $29 per month for 2 screens | Bundled plan, no scheduling |
| Visora Pro software | $59 per month for 4 screens | Includes scheduling, dayparting, and live events |
Sources: E Display's July 2026 cost guide, CrownTV's September 2026 guide, and DisplayDetails' February 2026 installation guide. These are vendor-published examples, not universal bids. Request a written scope that separates display, mount, labor, electrical, network, software, design, tax, warranty, and support.
How do you test a menu screen installation?
Test the installation as if the restaurant were already open. Restart every device, publish a remote price change, interrupt the network briefly, view the menu from the queue, and leave the system running for a full service window. Record what happened, who owns recovery, and how long each recovery step took.
Use these acceptance checks before signing off:
- The mount is level, stable, and free of cable tension.
- The menu is readable from the closest and farthest normal ordering positions.
- Glare does not cover critical prices during the brightest service period.
- Each screen shows the correct orientation and content group.
- A remote price change appears on the intended screen only.
- The screen returns to content after a normal restart or power restoration.
- Staff know what appears if the internet drops.
- A printed or offline backup menu is available for a prolonged outage.
- The manager and backup manager can sign in and publish an approved change.
- Display names, serial numbers, locations, warranty details, and recovery steps are documented.
A 2025 restaurant display survey by VDC Research, published by BlueStar, found that 88% of operators named keeping content updated as their main screen problem. The handoff should therefore include a content routine, not only a remote control and an installer invoice.
Installation checklist
A successful installation leaves behind a working screen, a verified content path, and a simple recovery process. Assign each checklist item to a person before opening day. If a line has no owner, it is not complete, even when the display is physically mounted and showing the first menu.
- Customer sightlines checked during a real service period
- Wall structure and mounting hardware verified
- Outlet and cable route approved
- Wi-Fi or wired connection tested at the display
- Screen duty cycle, brightness, and orientation confirmed
- Menu proofread by an authorized manager
- Sleep, auto-off, and input settings configured
- Four-character pairing completed
- Remote update and restart recovery tested
- Backup menu and outage procedure stored on site
- Manager and backup manager trained
- Device list, warranty, and support contacts documented
Common installation mistakes
The most expensive mistakes happen before publishing: buying for screen size alone, mounting before testing glare, hiding inaccessible power controls, trusting a single Wi-Fi reading, and skipping restart recovery. A less visible mistake is treating the menu as a finished design instead of an operational file that must stay accurate through price and availability changes.
Avoid these patterns:
- Buying identical consumer TVs for every location without checking hours, warranty, brightness, or orientation support.
- Placing important prices near bezel gaps across a multi-screen layout.
- Letting an installer leave before the remote-update and reboot tests pass.
- Giving every employee publishing access without an approval routine.
- Advertising breakfast after breakfast ends because scheduling was assumed to be available on a lower plan. Visora scheduling starts with Pro at $59 per month.
- Removing the printed backup menu before the digital system survives a real week of service.
The goal is not a complicated system. It is a predictable one. A single-location restaurant may be best served by one smart TV and a browser. A bright, high-volume QSR may need commercial displays, professional mounting, and a documented multi-screen standard. Pilot the smallest version that tests the real operating conditions, then repeat what works.
Frequently asked questions
These answers cover the exact setup phrases restaurant owners use when planning a menu screen. In practice, the safest sequence stays the same: survey the site, choose hardware for the duty cycle, mount it correctly, pair the software, test recovery, and assign a manager to keep content accurate.
What is the best way to install a digital menu board in 2026?
Start with a site survey that covers sightlines, glare, wall construction, power, network quality, operating hours, and content ownership. Test one screen before scaling. Visora can pair a compatible smart TV with a four-character code, while commercial displays and professional mounting are better for demanding locations.
digital menu board installation
Digital menu board installation includes placement planning, display and mount selection, safe power and network access, physical mounting, software pairing, content publishing, and acceptance testing. A complete handoff also documents restart recovery, outage behavior, staff access, warranty details, and a backup menu.
menu board installation
A menu board installation can be a low-cost smart TV pilot or a commercial multi-screen project. Choose based on daily operating hours, brightness, heat, wall conditions, and the cost of downtime. Do not compare a labor-only quote with a package that also includes screens, design, software, and support.
how to set up digital menu board on tv
Connect a compatible TV to reliable internet, turn off sleep settings, open Visora in the smart TV browser, and use the four-character code to pair it in your dashboard. Publish the menu, restart the TV, and confirm that it automatically returns to the correct full-screen content.
how to use tv as menu board
Give the TV stable power, a rated mount, a dependable network connection, and a supported browser or app. Build the menu at the screen's aspect ratio and test it from the ordering line. An existing consumer TV is useful for a pilot, but check its warranty and operating-hour limits.
menu screen installation
Menu screen installation should include a wall and sightline survey, display-rated mounting hardware, protected cables, ventilation, network testing, software setup, and a manager handoff. Use qualified tradespeople for new electrical work, uncertain wall structures, overhead screens, or any installation that falls outside your competence.
how to set up a digital menu board
Choose the location and hardware, design a readable menu, connect the display to power and internet, pair it with signage software, and publish. Then restart the display, push a remote price change, check glare and readability during service, and document the fallback plan before relying on it.
Ready to make the first screen operational? Start free with 1 compatible smart TV, then use the same tested workflow for the next location: download Visora.